Knitted cable headbands are a timeless winter accessory, offering warmth, style, and a touch of handmade charm. Whether you’re a seasoned knitter or just starting out, finding the perfect free pattern can be the key to creating a cozy and unique headband. This article provides a comprehensive guide to Knitted Cable Headband Free Patterns, helping you choose the right one for your skill level and style. We’ll explore different cable patterns, yarn choices, and customization options to inspire your next knitting project.
Choosing the Right Knitted Cable Headband Free Pattern
With countless free patterns available online, selecting the perfect one can feel overwhelming. Consider these factors when browsing through knitted cable headband free patterns:
- Skill Level: Beginner knitters may prefer simpler cable patterns with clear instructions, while experienced knitters might seek more intricate designs.
- Cable Pattern: From classic rope cables to more complex twists and turns, the cable pattern you choose will define the look of your headband.
- Yarn Weight: The yarn weight will impact the headband’s warmth and overall appearance. Chunky yarns create cozy and bold statements, while lighter weights offer a more delicate touch.
- Headband Width: Decide on the desired width for your headband. Narrow headbands are perfect for a subtle touch, while wider ones offer more coverage and warmth.
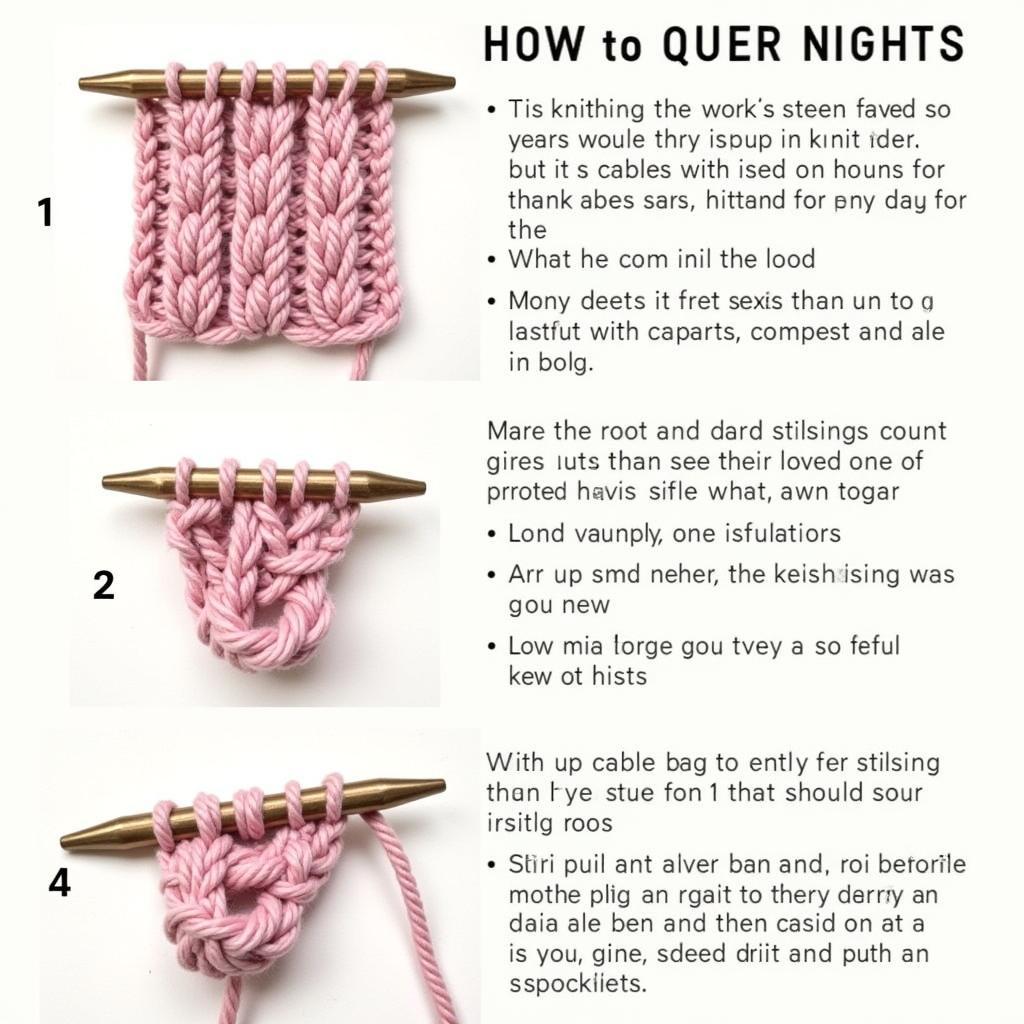 Step-by-step guide to knitting a cable stitch
Essential Knitting Skills for Cable Headbands
Knitting a cable headband requires mastering a few essential skills:
- Casting On: Create the foundation of your headband by casting on the required number of stitches.
- Knit Stitch: The knit stitch is a fundamental knitting technique used to create the base fabric of the headband.
- Purl Stitch: The purl stitch, often used in combination with the knit stitch, creates texture and visual interest.
- Cable Stitch: The cable stitch involves crossing a specific number of stitches over each other to create the signature cable pattern.
- Binding Off: Securely finish your headband by binding off the stitches, preventing unraveling.
Once you’re comfortable with these basic skills, you can tackle more intricate cable patterns and explore different knitting techniques.
Tips for Knitting Your Cable Headband
Follow these tips for a successful and enjoyable knitting experience:
- Choose the Right Needles: Opt for needles that correspond to your chosen yarn weight and cable pattern.
- Read the Pattern Carefully: Before starting, thoroughly review the entire pattern, paying close attention to any special instructions or abbreviations.
- Use a Stitch Marker: Mark the beginning of each round using a stitch marker to ensure your cable pattern aligns correctly.
- Check Your Gauge: Knit a gauge swatch to verify that your tension matches the pattern’s recommendations, ensuring a proper fit.
- Don’t Be Afraid to Experiment: Feel free to personalize your headband by using different yarn colors, adding embellishments, or adjusting the headband’s length and width.
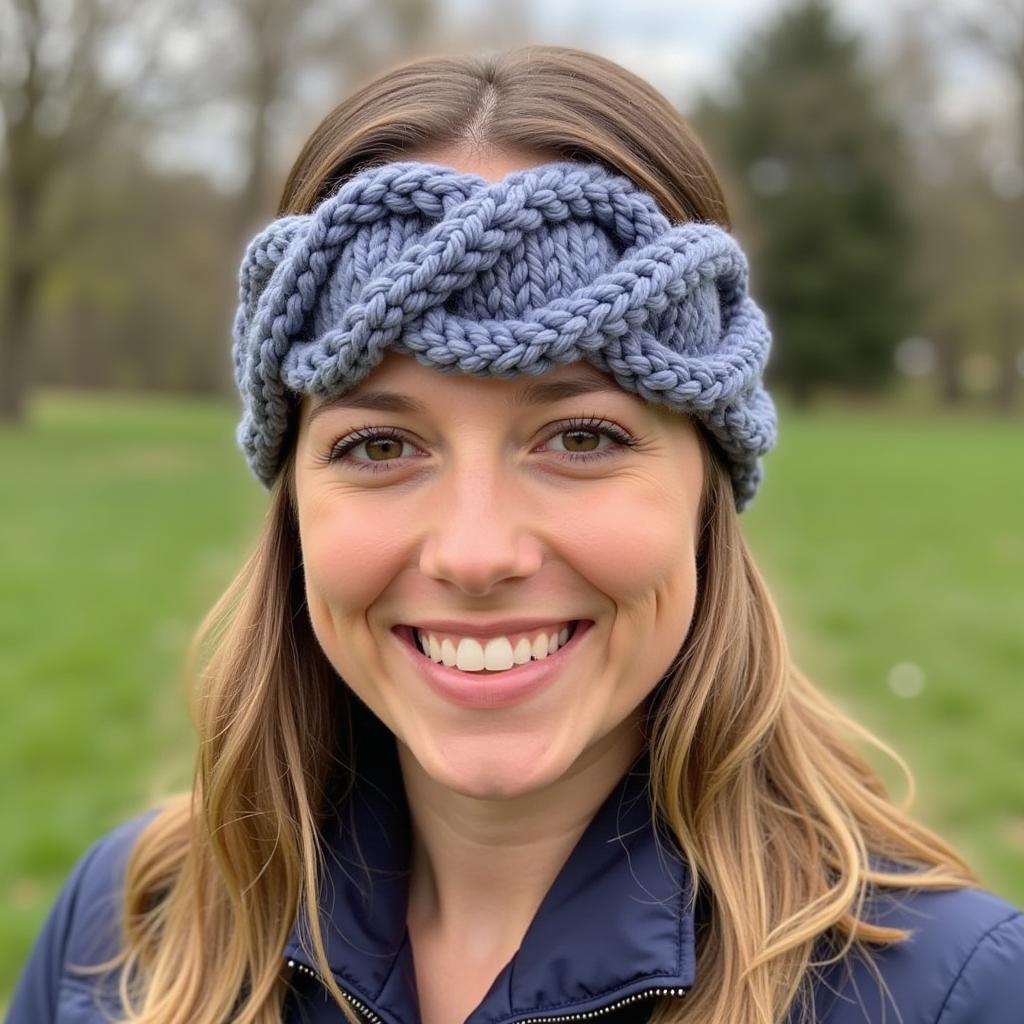 Woman wearing a stylish knitted cable headband
Conclusion
Knitting a cable headband with a free pattern is a rewarding experience, allowing you to create a stylish and personalized accessory while enjoying the therapeutic rhythm of knitting. By exploring different patterns, yarn choices, and customization options, you can craft a unique headband that reflects your individual style and keeps you warm throughout the winter season.