Finding the perfect apron for your autumn baking sessions can be a delightful challenge. But what if you could create a unique, personalized apron that perfectly matches your kitchen decor and personal style? With a Harvest Apron Pattern Free to use, you can! Sewing your own apron not only allows for customization but also brings a sense of accomplishment and creativity to your kitchen adventures.
Finding Your Perfect Harvest Apron Pattern Free
The beauty of searching for a free apron pattern online is the abundance of choices available. From simple and classic designs to more intricate and detailed patterns, there’s a perfect harvest apron waiting to be sewn by you.
Exploring Online Resources for Free Apron Patterns
- Sewing Blogs: Many sewing enthusiasts generously share their creations and patterns for free on their blogs. A simple search for “harvest apron pattern free” will lead you to a treasure trove of options.
- DIY and Craft Websites: Websites dedicated to DIY projects and crafts often feature a dedicated section for sewing patterns, including a variety of free apron patterns.
- Pinterest: Pinterest is a visual haven for finding inspiration and resources for creative projects. Search for “harvest apron pattern free” and explore the countless pins linking to free patterns and tutorials.
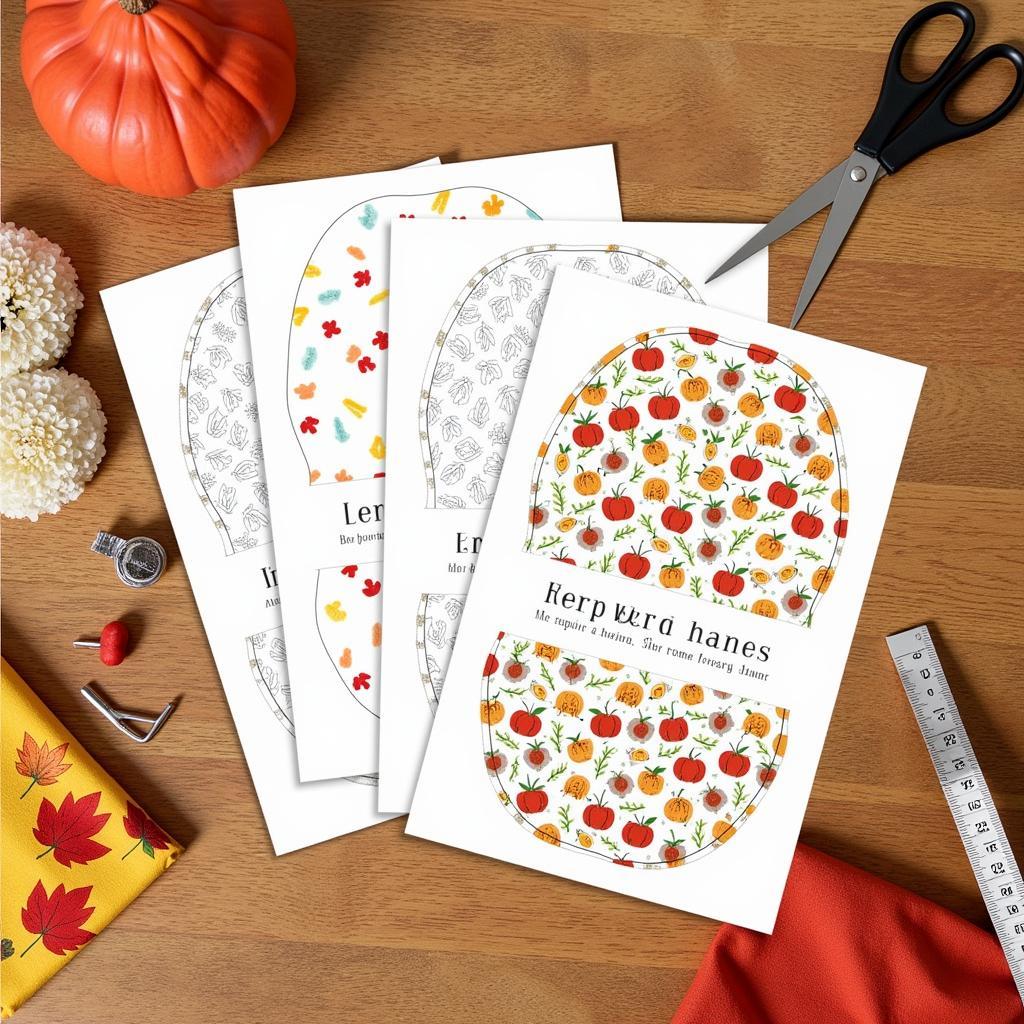 Various harvest apron pattern options displayed on a table
Choosing the Right Pattern for Your Skill Level
Don’t be afraid to start with a simpler pattern if you’re new to sewing. As you gain confidence, you can gradually explore more challenging designs. Look for patterns that clearly indicate the skill level required and offer detailed instructions, especially if you’re a beginner.
Essential Tools and Materials for Sewing Your Harvest Apron
Before diving into your sewing project, gather the necessary tools and materials to ensure a smooth and enjoyable sewing experience.
- Fabric: Opt for durable and easy-to-care-for fabrics like cotton or linen for your apron. Choose prints or colors that evoke the warmth and richness of the harvest season.
- Sewing Machine: While hand-sewing an apron is possible, a sewing machine will make the process significantly faster and easier.
- Thread: Select a thread color that matches or complements your chosen fabric.
- Scissors: Use sharp fabric scissors for cutting your fabric accurately.
- Measuring Tape: Essential for taking accurate measurements and ensuring your apron fits perfectly.
- Pins: Use pins to hold your fabric pieces together before sewing.
- Iron and Ironing Board: Pressing your seams as you sew will contribute to a professional-looking finished apron.
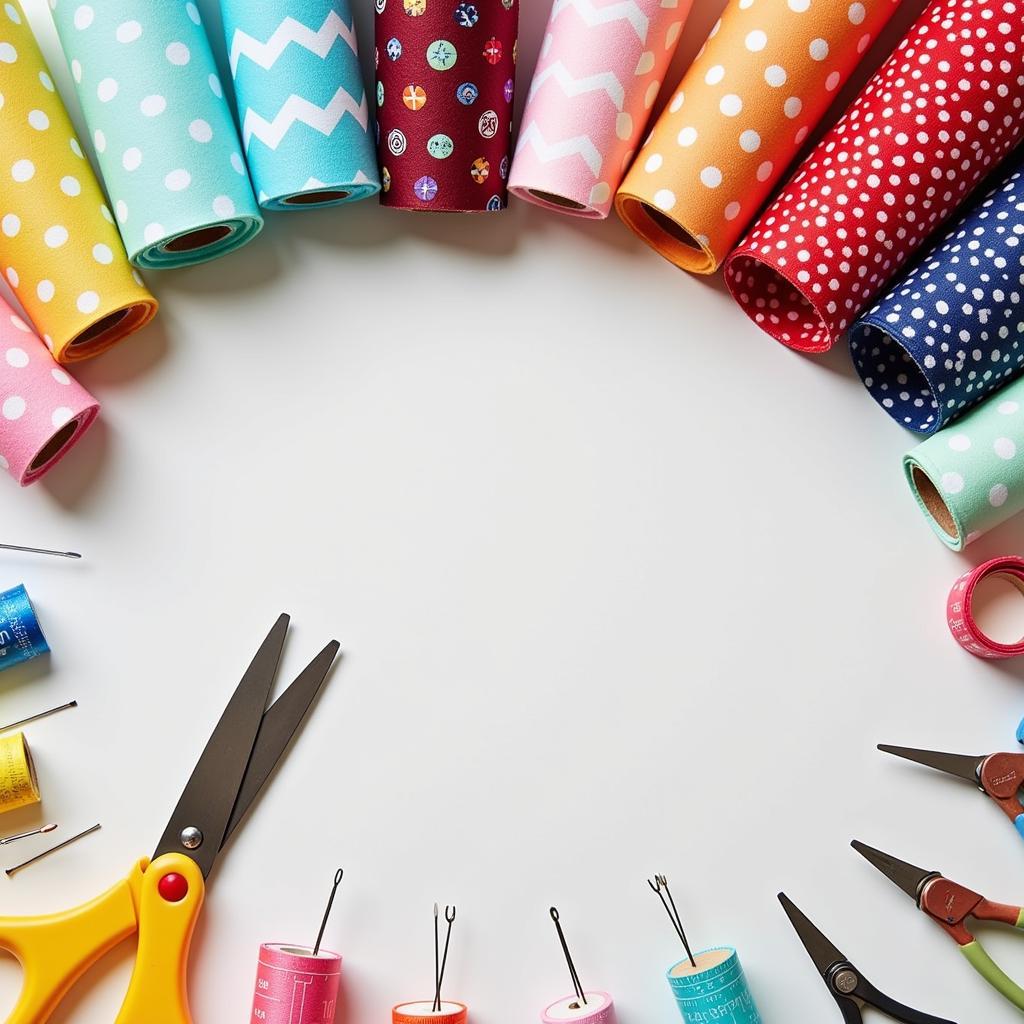 Sewing essentials neatly arranged on a table with fabric rolls in the background
Sewing Your Harvest Apron: A Step-by-Step Guide
Once you’ve chosen your pattern and gathered your materials, it’s time to bring your harvest apron to life. Follow these general sewing steps, referring to your chosen pattern’s specific instructions.
- Prepare Your Fabric: Wash, dry, and iron your fabric to pre-shrink it and remove any wrinkles.
- Cut Out Your Pattern Pieces: Carefully cut out the pattern pieces according to the instructions. Use sharp fabric scissors and follow the cutting lines precisely.
- Pin and Sew the Apron Body: Pin the front and back apron pieces together, right sides facing. Sew along the sides and top edge, leaving the bottom and armholes open.
- Create the Neck Strap: Fold and press the neck strap piece in half lengthwise, wrong sides facing. Sew along the long open edge, then turn the strap right side out.
- Attach the Neck Strap: Pin the neck strap to the top corners of the apron body. Sew the strap securely in place.
- Create the Waist Ties: Fold and press the waist tie pieces in half lengthwise, wrong sides facing. Sew along the long open edge, then turn the ties right side out.
- Attach the Waist Ties: Pin the waist ties to the sides of the apron body. Sew the ties securely in place.
- Hem the Apron: Fold and press the raw edges of the apron bottom and armholes. Sew the hems in place to create a clean and finished look.
Tips for a Successful Sewing Project
- Read Through the Entire Pattern Before Starting: Familiarize yourself with the instructions and steps involved before you begin sewing.
- Take Your Time: Don’t rush the sewing process. Enjoy the creative journey and pay attention to detail.
- Press Your Seams: Ironing your seams as you sew will give your apron a polished look.
- Don’t Be Afraid to Ask for Help: If you encounter any challenges, don’t hesitate to seek assistance from experienced sewers or online sewing communities.
Conclusion
Creating your own harvest apron is a rewarding experience that combines creativity, practicality, and a touch of autumnal charm. With a harvest apron pattern free to use and your own sewing skills, you can design a unique apron that reflects your personal style and adds a handmade touch to your kitchen. So gather your materials, choose your favorite pattern, and embark on a fulfilling sewing adventure.