Halloween is just around the corner, and what better way to add a touch of spooky elegance to your home than with stained glass? But who wants to spend a fortune on expensive decorations? That’s where free Halloween stained glass patterns come in! Whether you’re a seasoned crafter or a beginner looking for a fun and festive project, there are countless free patterns available online to help you create stunning stained glass masterpieces.
Why Choose Halloween Stained Glass Patterns?
Halloween stained glass patterns offer a unique blend of creativity and spookiness. Imagine eerie ghosts, grinning pumpkins, and spooky bats casting colorful shadows across your room. These patterns allow you to infuse your personality into your Halloween decor, making your home truly one-of-a-kind.
Where to Find Free Halloween Stained Glass Patterns
The internet is a treasure trove of free stained glass patterns, including a plethora of Halloween-themed designs. Here are some places to start your search:
-
Pinterest: Pinterest is a visual search engine overflowing with creative inspiration. Search for “Halloween Stained Glass Patterns Free,” and you’ll be greeted by a plethora of pins linking to blogs, websites, and online shops offering free patterns.
-
Crafting Blogs and Websites: Many crafting enthusiasts generously share their patterns for free on their blogs and websites. A quick Google search for “free Halloween stained glass patterns” will lead you to a variety of options.
-
Online Craft Communities: Websites like Etsy and DeviantArt host communities of crafters who often share free patterns or sell their designs at affordable prices.
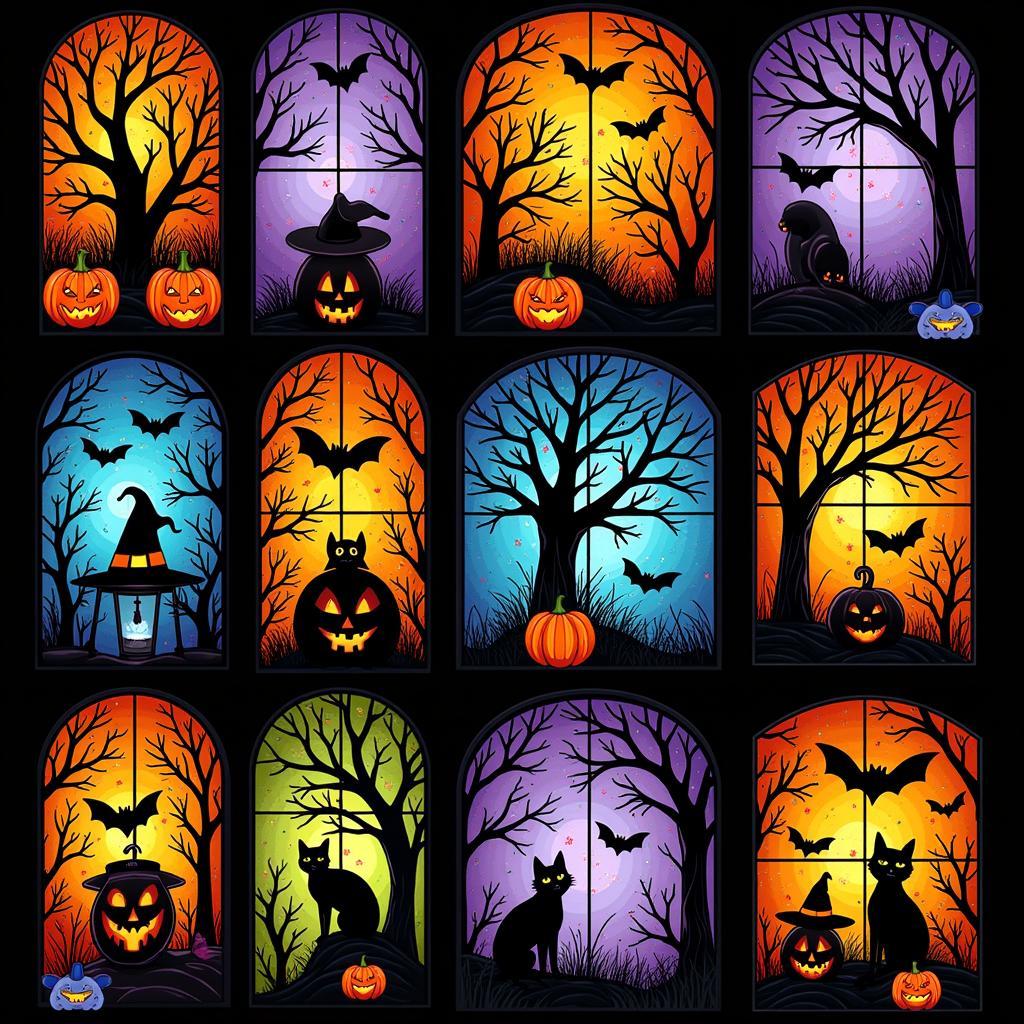 Collection of Halloween Stained Glass Patterns
Tips for Choosing the Perfect Pattern
With so many free options available, it’s easy to get overwhelmed. Here are some tips to help you choose the perfect pattern for your skill level and style:
-
Consider Your Skill Level: If you’re a beginner, it’s best to start with a simple pattern with fewer pieces and straightforward cuts. As you gain confidence, you can gradually move on to more intricate designs.
-
Think About Your Style: Do you prefer cute and whimsical designs or something more eerie and realistic? Choose a pattern that reflects your personal style and complements your existing Halloween decor.
-
Look for Clear Instructions: A good pattern will include clear and concise instructions, along with helpful diagrams or photos to guide you through the process.
Essential Tools and Materials
Before you begin, gather the following tools and materials:
-
Stained Glass Pattern: Print out your chosen pattern or have it displayed on a tablet or computer screen.
-
Glass Cutter: A glass cutter is a must-have tool for scoring and breaking glass pieces.
-
Glass Grinder: A glass grinder helps smooth out rough edges and shapes glass pieces with precision.
-
Soldering Iron and Solder: A soldering iron is used to join the glass pieces together using solder, a metal alloy that melts at a low temperature.
-
Safety Glasses: Protect your eyes from flying glass shards with safety glasses.
-
Glass: Choose from a variety of colors and textures to bring your Halloween stained glass design to life.
 Essential Tools and Materials for Stained Glass
Getting Started: Step-by-Step Guide
Follow these steps to create your own Halloween stained glass masterpiece:
-
Prepare Your Pattern: Print your pattern and carefully cut out each individual piece.
-
Trace onto Glass: Use a permanent marker to trace each pattern piece onto your chosen glass.
-
Cut the Glass: Carefully score the glass along the traced lines using a glass cutter. Apply even pressure and score only once for clean breaks.
-
Grind the Edges: Use a glass grinder to smooth out any rough edges and refine the shape of the glass pieces.
-
Wrap the Edges: Wrap the edges of each glass piece with copper foil tape, burnishing it firmly to ensure a secure bond.
-
Solder the Pieces: Arrange the wrapped glass pieces according to the pattern, securing them together with small dots of solder.
-
Frame Your Masterpiece: Once the solder has cooled, frame your finished stained glass creation using a pre-made frame or create your own custom frame.
 Halloween Stained Glass Panel Hanging in Window
Conclusion
Creating your own Halloween stained glass decorations is a rewarding and enjoyable experience. With countless free patterns available online, you’re sure to find the perfect design to spook up your home this Halloween. So gather your supplies, unleash your creativity, and let the stained glass magic begin!