Stained glass art, with its vibrant colors and intricate designs, possesses a captivating allure. And what better subject to grace your windows than the enchanting hummingbird, a tiny creature bursting with life and beauty? If you’re seeking Free Stained Glass Hummingbird Patterns to bring this vision to life, look no further! This guide will help you discover a treasure trove of free patterns and provide valuable insights to take flight on your stained glass journey.
Unveiling the Beauty of Free Stained Glass Hummingbird Patterns
 A variety of stunning stained glass hummingbird patterns showcasing different styles and skill levels
Free stained glass hummingbird patterns offer a fantastic starting point for both novice and seasoned glass artists. Whether you’re drawn to the simplicity of geometric shapes or the intricate details of realistic depictions, there’s a pattern out there waiting to inspire your creativity.
Where to Find Free Stained Glass Hummingbird Patterns
The internet is a haven for free stained glass patterns, including a wide variety of hummingbird designs. Here are some avenues to explore:
- Stained Glass Forums and Communities: Online communities dedicated to stained glass art are treasure troves of shared patterns and valuable advice.
- Digital Libraries and Pattern Websites: Numerous websites offer free stained glass patterns, often categorized by theme or skill level.
- Social Media Groups: Connect with fellow stained glass enthusiasts on platforms like Facebook and Pinterest, where free patterns are often shared and discussed.
Remember to respect copyright guidelines when downloading and using free patterns.
Choosing the Right Pattern
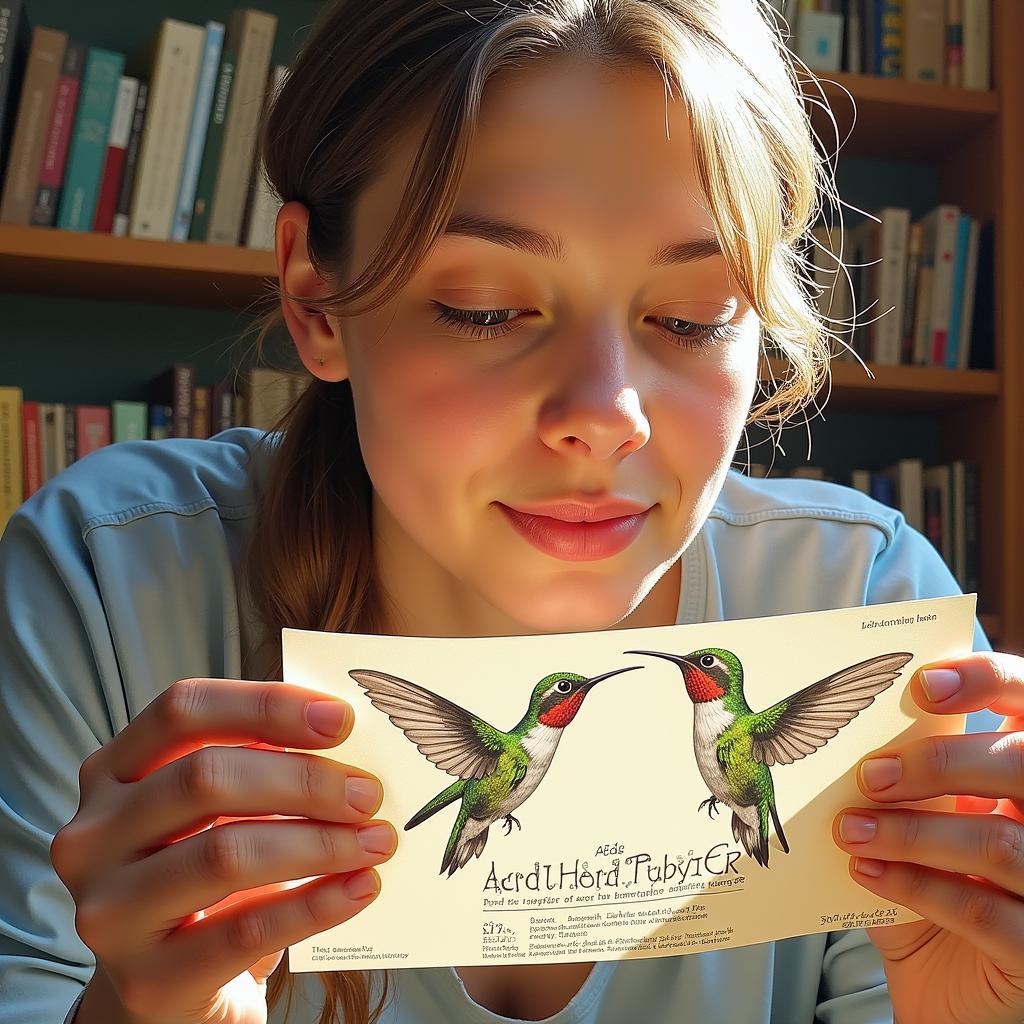 A person examining different stained glass hummingbird patterns, considering factors like skill level and design complexity.
With countless free stained glass hummingbird patterns available, selecting the right one is crucial for a successful project. Consider these factors:
- Skill Level: Opt for a pattern that aligns with your experience. Simple outlines are ideal for beginners, while intricate designs challenge seasoned artists.
- Glass Selection: Envision the colors and textures you want to incorporate and choose a pattern that complements your vision.
- Project Scope: Determine the size and complexity you’re comfortable with. A small, simple pattern is perfect for a beginner project, while a larger, more intricate design requires more time and skill.
Essential Tools and Materials
Before you embark on your stained glass hummingbird creation, gather the necessary tools and materials:
- Glass Cutter: This indispensable tool scores the glass, allowing for clean breaks.
- Glass Grinder: Smooths sharp edges and shapes the glass pieces to fit the pattern precisely.
- Soldering Iron and Solder: Fuse the glass pieces together using a soldering iron and lead-free solder.
- Copper Foil: Wraps around the edges of each glass piece to provide a surface for soldering.
- Flux: Cleans the copper foil and ensures a strong solder bond.
- Safety Glasses and Gloves: Protect your eyes and hands throughout the process.
- Pattern Shears: Cut the pattern accurately.
- Pattern Transfer Paper: Transfer the design onto the glass for cutting.
Bringing Your Hummingbird to Life: A Step-by-Step Guide
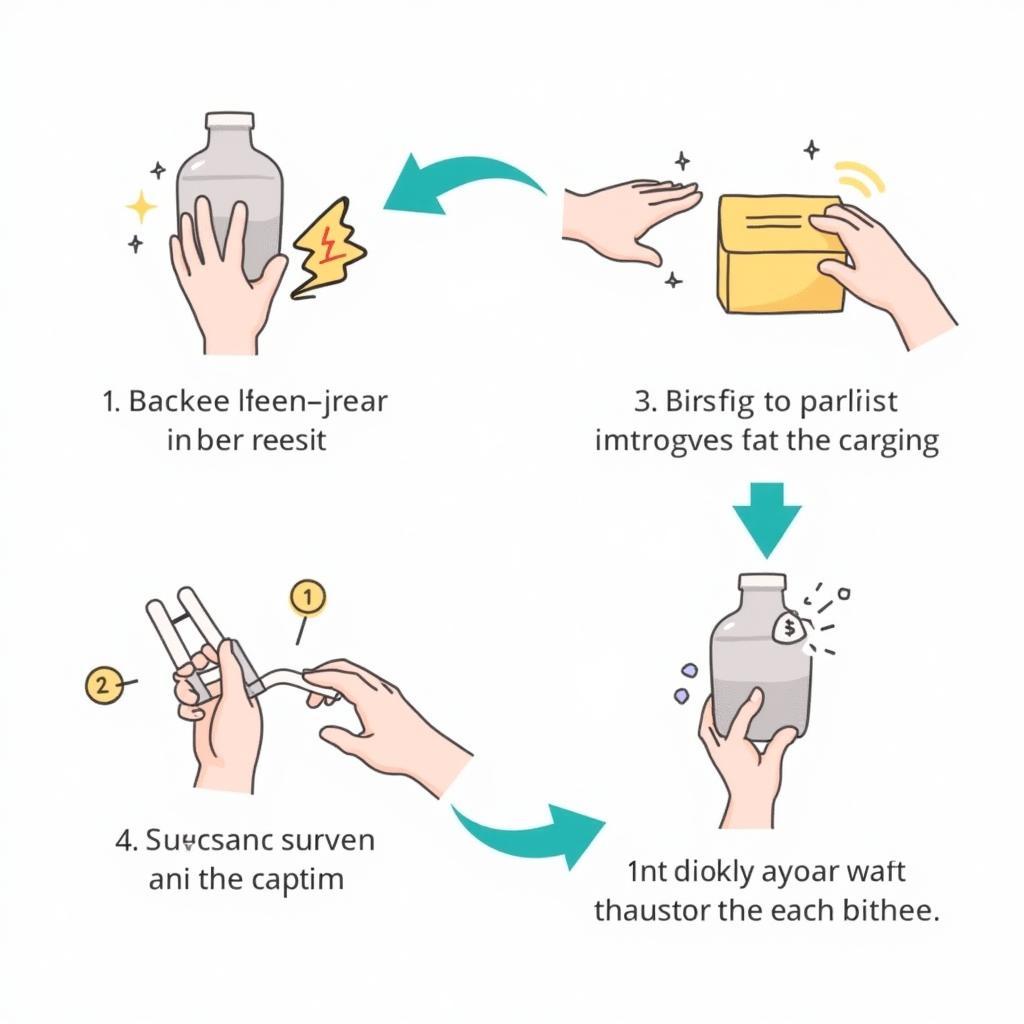 A step-by-step illustration of the stained glass creation process, showcasing key stages like cutting, grinding, foiling, and soldering.
- Prepare Your Workspace: Choose a well-lit and ventilated area with a heat-resistant surface for soldering.
- Cut and Grind the Glass: Carefully cut each glass piece according to the pattern, using the glass cutter and grinder to shape and smooth the edges.
- Apply Copper Foil: Wrap each glass piece with copper foil, ensuring a snug fit. Burnish the foil to create a smooth surface for soldering.
- Solder the Pieces Together: Use the soldering iron and solder to join the glass pieces together, following the pattern as a guide.
- Framing and Finishing: Once the soldering is complete, frame your stained glass hummingbird using lead came or a wooden frame.
Tips for Success
- Practice on scrap glass before working on your final piece.
- Invest in quality tools and materials for optimal results.
- Take your time and enjoy the creative process.
Conclusion
Creating stained glass art is a rewarding experience that combines artistic expression with hands-on craftsmanship. With the abundance of free stained glass hummingbird patterns available, you can embark on this fulfilling journey and bring a touch of nature’s beauty into your home. So gather your tools, select your favorite pattern, and let your creativity take flight!