Mastering free body diagrams is crucial for understanding and solving problems in mechanics. A free body diagram (FBD) is a visual representation of all the forces acting on an object. This worksheet will guide you through the process of creating FBDs for various scenarios, helping you improve your problem-solving skills.
Understanding Free Body Diagrams
A free body diagram is a simplified representation of a physical system, isolating the object of interest and showing all the forces acting on it. It’s a powerful tool for understanding the forces at play and applying Newton’s laws of motion to solve problems.
Why are Free Body Diagrams Important?
- Visual Representation: FBDs offer a clear visual representation of the forces acting on an object. This helps you understand the complex interplay of forces.
- Problem-Solving Tool: FBDs are essential for applying Newton’s laws of motion to solve problems in statics, dynamics, and other areas of physics. By identifying all the forces, you can accurately write down the equations of motion.
- Conceptual Understanding: Creating FBDs helps you develop a deep conceptual understanding of how forces work. You learn to identify different types of forces, their direction, and their effect on the object.
Key Steps for Creating a Free Body Diagram
- Identify the Object: Choose the object you want to analyze and isolate it from its surroundings.
- Draw a Simple Sketch: Represent the object with a simple shape or symbol.
- Identify all the Forces: Determine all the forces acting on the object and list them.
- Represent the Forces with Arrows: Draw arrow vectors representing each force, indicating its direction and point of application.
- Label the Forces: Clearly label each force with its name and a symbol (e.g., “Fg” for gravitational force).
Tips for Effective Free Body Diagrams
- Focus on the Object: Only include forces acting directly on the object you are analyzing.
- Include All Forces: Don’t omit any forces, even if they seem small.
- Draw Arrows Accurately: The direction of the arrows must correctly represent the direction of each force.
- Use Consistent Scales: For clarity, try to use consistent length scales for the arrow vectors.
Free Body Diagram Practice Worksheet
Let’s practice creating FBDs for a few scenarios. Below, we’ll cover examples involving:
- Objects at Rest: Static Equilibrium
- Objects in Motion: Dynamics
Scenario 1: A Book Resting on a Table
Prompt: A book is resting on a table. Create a free body diagram of the book.
Solution:
- Identify the Object: The book.
- Draw a Simple Sketch: Draw a rectangle representing the book.
- Identify all the Forces:
- Gravitational Force (Fg): The force of gravity acting downwards.
- Normal Force (Fn): The force exerted by the table on the book, acting upwards.
- Represent the Forces with Arrows: Draw an arrow downwards for Fg, and an arrow upwards for Fn.
- Label the Forces: Label the arrows as “Fg” and “Fn”.
Example FBD:

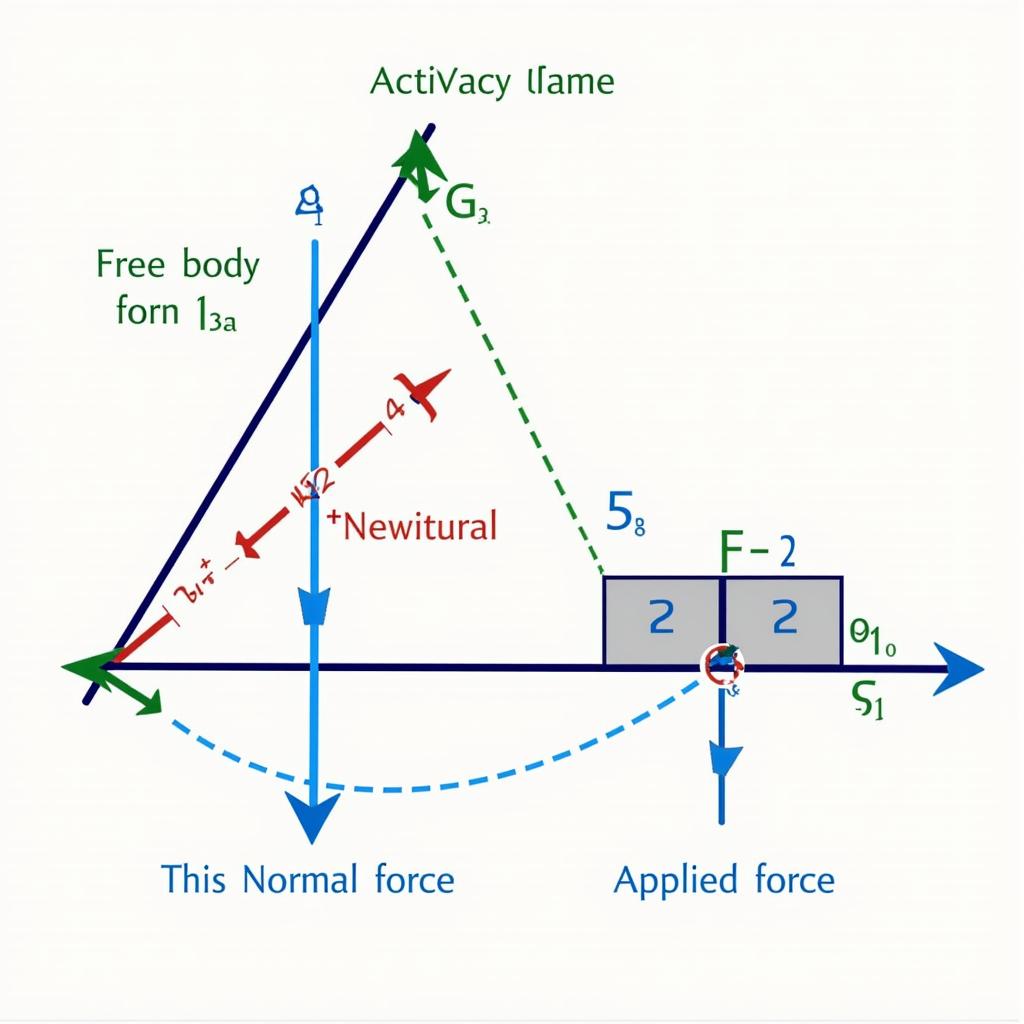
Scenario 2: A Block Being Pulled on a Frictionless Surface
Prompt: A block is being pulled horizontally on a frictionless surface by a force. Create a free body diagram of the block.
Solution:
- Identify the Object: The block.
- Draw a Simple Sketch: Draw a rectangle representing the block.
- Identify all the Forces:
- Gravitational Force (Fg): The force of gravity acting downwards.
- Normal Force (Fn): The force exerted by the surface on the block, acting upwards.
- Applied Force (Fa): The horizontal force pulling the block.
- Represent the Forces with Arrows: Draw an arrow downwards for Fg, an arrow upwards for Fn, and a horizontal arrow to the right for Fa.
- Label the Forces: Label the arrows as “Fg”, “Fn”, and “Fa”.
Example FBD:
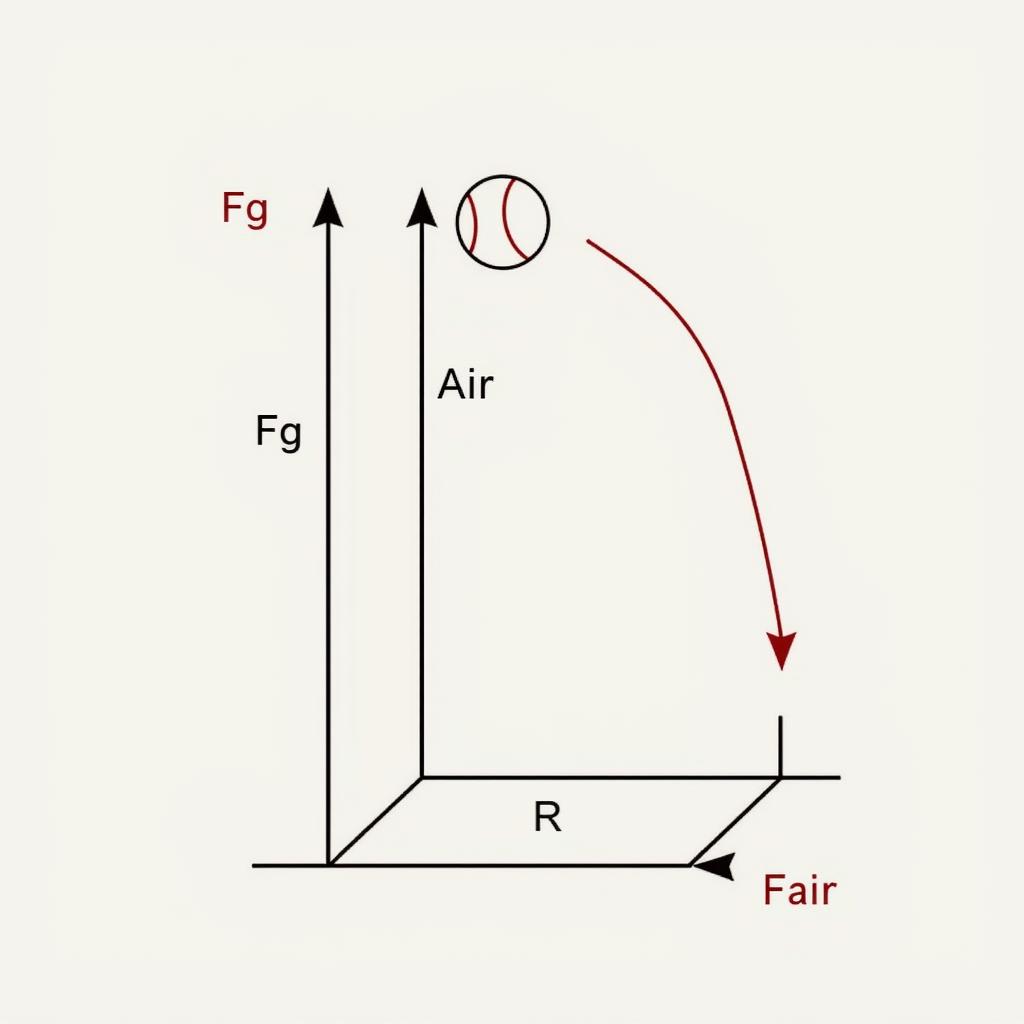
Scenario 3: A Ball Thrown Vertically Upwards
Prompt: A ball is thrown vertically upwards. Create a free body diagram of the ball while it is in the air.
Solution:
- Identify the Object: The ball.
- Draw a Simple Sketch: Draw a circle representing the ball.
- Identify all the Forces:
- Gravitational Force (Fg): The force of gravity acting downwards.
- Air Resistance (Fair): The force of air resistance acting opposite to the ball’s motion.
- Represent the Forces with Arrows: Draw an arrow downwards for Fg, and an arrow upwards for Fair (since the ball is moving upwards, air resistance acts downwards).
- Label the Forces: Label the arrows as “Fg” and “Fair”.
Example FBD:
Expert Insights on Free Body Diagrams
“Free body diagrams are the foundation of mechanics. They help you break down complex problems into manageable components. By accurately representing the forces acting on an object, you can apply Newton’s laws and gain valuable insights into its motion.” – Dr. Emily Carter, Professor of Physics
“Don’t underestimate the power of a good free body diagram. It’s a simple tool, but it can make a world of difference in your problem-solving abilities. Take the time to draw it carefully, and it will pay off in the end.” – Prof. John Smith, Professor of Mechanical Engineering
Conclusion
Free body diagrams are essential for mastering mechanics. By learning to create FBDs effectively, you gain a powerful tool for understanding and solving problems in physics. This worksheet serves as a starting point for your practice, and you can explore further by analyzing more complex scenarios and objects in various situations.
FAQ
-
What are some common mistakes to avoid when creating FBDs?
- Forgetting forces or including forces that are not acting on the object.
- Drawing arrows in the wrong direction.
- Not labeling the forces clearly.
-
How do I choose the appropriate scale for my FBD?
- Choose a scale that allows you to represent all the forces clearly and accurately. Don’t be afraid to adjust the scale if needed.
-
Is it okay to use different colors for different forces on my FBD?
- Yes, using different colors for different forces can improve the clarity and visual appeal of your free body diagram.
-
Can I use software to create FBDs?
- Yes, there are software programs available that can help you create professional-looking FBDs. However, it is important to understand the underlying concepts and principles of FBDs before relying on software.
-
Where can I find more practice problems for free body diagrams?
- You can find numerous practice problems in textbooks, online resources, and physics workbooks.
- You can also create your own practice problems by thinking of different scenarios and objects.
What’s Next?
Continue practicing creating free body diagrams for various situations. Explore more complex scenarios involving friction, inclined planes, and multiple objects. As you become more comfortable with FBDs, you’ll find that they can help you solve even the most challenging problems in mechanics.