Are you looking for a fun and easy amigurumi project to try? Look no further than this free Winnie the Pooh crochet pattern! This adorable pattern is perfect for beginners, and it’s sure to bring a smile to your face.
What is Amigurumi?
Amigurumi is the Japanese art of crocheting or knitting small, stuffed toys. It’s a popular hobby for all ages, and it’s a great way to relax and be creative.
Why Crochet Winnie the Pooh?
Winnie the Pooh is a beloved character from the classic children’s books by A.A. Milne. He’s known for his love of honey, his cheerful personality, and his loyal friends. This makes him the perfect subject for an amigurumi project!
What You Need
To crochet your own Winnie the Pooh amigurumi, you will need the following supplies:
- Yarn: You can use any type of yarn you like for this project. However, a soft, medium-weight yarn is a good choice.
- Crochet Hook: Choose a crochet hook that is the size recommended for your yarn.
- Stuffing: You can use polyester fiberfill or another type of stuffing.
- Safety Eyes: Winnie the Pooh has black button eyes, so you’ll need a pair of 9 mm safety eyes.
- Embroidery Needle: To sew on the eyes and other details.
- Scissors: To cut yarn ends.
The Free Pattern
Here is a basic free pattern for crocheting Winnie the Pooh amigurumi:
- Body:
- Round 1: 6 sc in a magic ring (6)
- Round 2: Inc in each st (12)
- Round 3: (sc, inc) * 6 (18)
- Round 4: (2 sc, inc) * 6 (24)
- Round 5-10: 24 sc (24)
- Round 11: (2 sc, dec) * 6 (18)
- Round 12-15: 18 sc (18)
- Round 16: (sc, dec) * 6 (12)
- Round 17-18: 12 sc (12)
- Round 19: 6 sc (6)
- Round 20: Close off the body with a slip stitch.
- Head:
- Round 1: 6 sc in a magic ring (6)
- Round 2: Inc in each st (12)
- Round 3: (sc, inc) * 6 (18)
- Round 4: (2 sc, inc) * 6 (24)
- Round 5-6: 24 sc (24)
- Round 7: (2 sc, dec) * 6 (18)
- Round 8-10: 18 sc (18)
- Round 11: (sc, dec) * 6 (12)
- Round 12-13: 12 sc (12)
- Round 14: 6 sc (6)
- Round 15: Close off the head with a slip stitch.
- Ears (Make 2)
- Round 1: 4 sc in a magic ring (4)
- Round 2: Inc in each st (8)
- Round 3: (sc, inc) * 4 (12)
- Round 4-5: 12 sc (12)
- Round 6: (sc, dec) * 4 (8)
- Round 7: 8 sc (8)
- Round 8: 4 sc (4)
- Round 9: Close off the ear with a slip stitch.
- Nose
- Round 1: 6 sc in a magic ring (6)
- Round 2: Inc in each st (12)
- Round 3: (sc, inc) * 6 (18)
- Round 4: (2 sc, inc) * 6 (24)
- Round 5: 24 sc (24)
- Round 6: (2 sc, dec) * 6 (18)
- Round 7: (sc, dec) * 6 (12)
- Round 8-10: 12 sc (12)
- Round 11: 6 sc (6)
- Round 12: Close off the nose with a slip stitch.
Assembly
- Once all of the pieces are crocheted, you can assemble them.
- Sew the ears to the top of the head.
- Sew the eyes to the head, making sure they are centered.
- Sew the nose to the head.
- Sew the head to the body, making sure to leave an opening for stuffing.
- Stuff the head and body firmly.
- Sew the opening closed.
Finishing Touches
To make Winnie the Pooh look even more realistic, you can add some finishing touches, such as:
- Embroidered Details: Embroider a mouth and a few lines on the body to represent Winnie the Pooh’s red shirt.
- Honey Pot: You can crochet a small honey pot for Winnie the Pooh to hold.
Enjoy your Amigurumi Winnie the Pooh!
Now you have your own adorable Winnie the Pooh amigurumi! This is a perfect project for a beginner, and you will have a lot of fun making it. You can even customize it to your liking, changing the yarn color or adding other details.
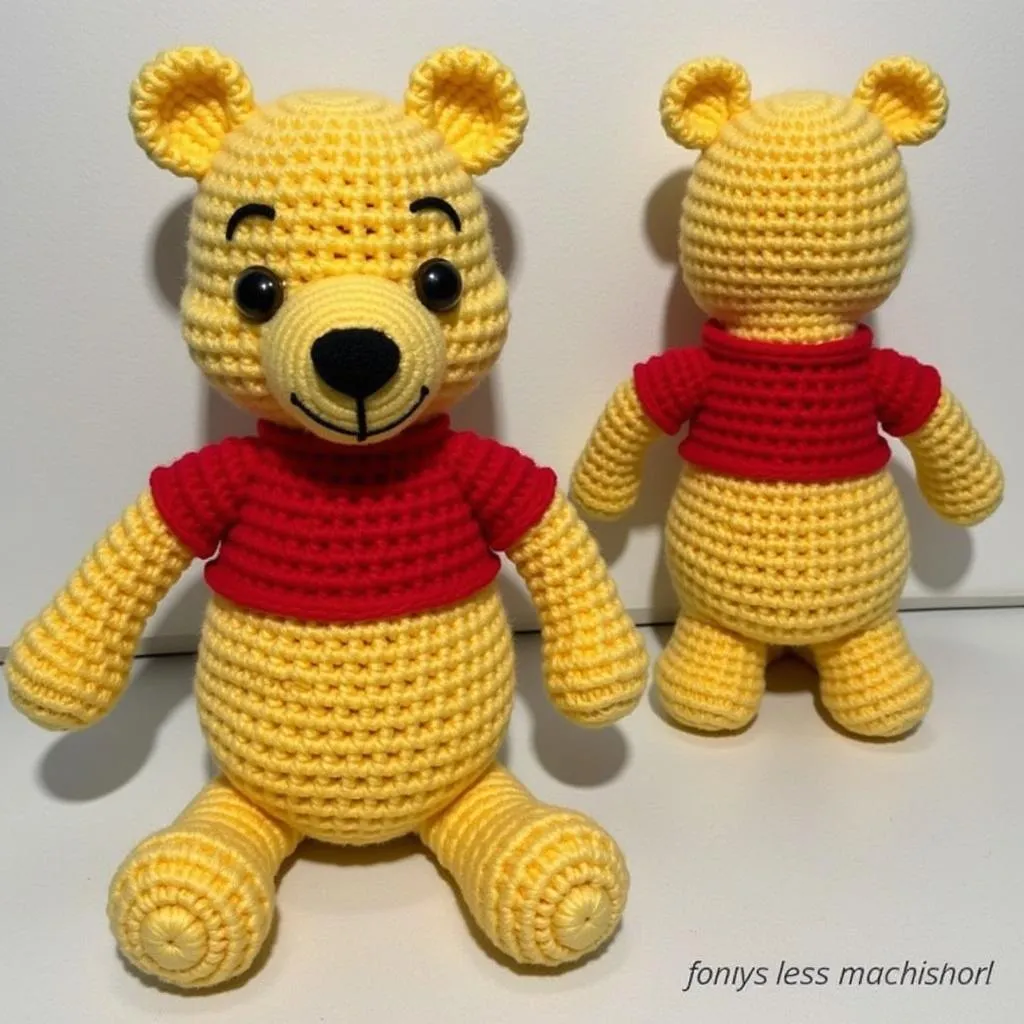 Finished Winnie the Pooh Amigurumi Toy
Tips from Expert Crocheter, Sarah Johnson
“When working with a new crochet pattern, it is always a good idea to check your gauge before starting. This will ensure that your finished piece will be the correct size.”
“Don’t be afraid to experiment with different yarn colors and textures. You can create a unique and personalized Winnie the Pooh amigurumi that reflects your own style.”
Frequently Asked Questions
Q: What is the best type of yarn to use for amigurumi?
A: You can use any type of yarn you like for amigurumi. However, a soft, medium-weight yarn is a good choice because it is easy to work with and creates a nice, plush finish.
Q: What is the best type of stuffing to use for amigurumi?
A: The best type of stuffing to use for amigurumi is polyester fiberfill. It is soft, fluffy, and hypoallergenic.
Q: How do I make my amigurumi look more realistic?
A: There are a few things you can do to make your amigurumi look more realistic. First, use a yarn that is similar to the color of the character you are making. Second, add details like embroidered features or felt accents. Third, use a stuffing that is firm enough to hold its shape.
Q: What other amigurumi patterns can I try?
A: There are many different amigurumi patterns available online and in craft stores. Some popular characters include:
- Mickey Mouse
- Minnie Mouse
- Pikachu
- Totoro
- Hello Kitty
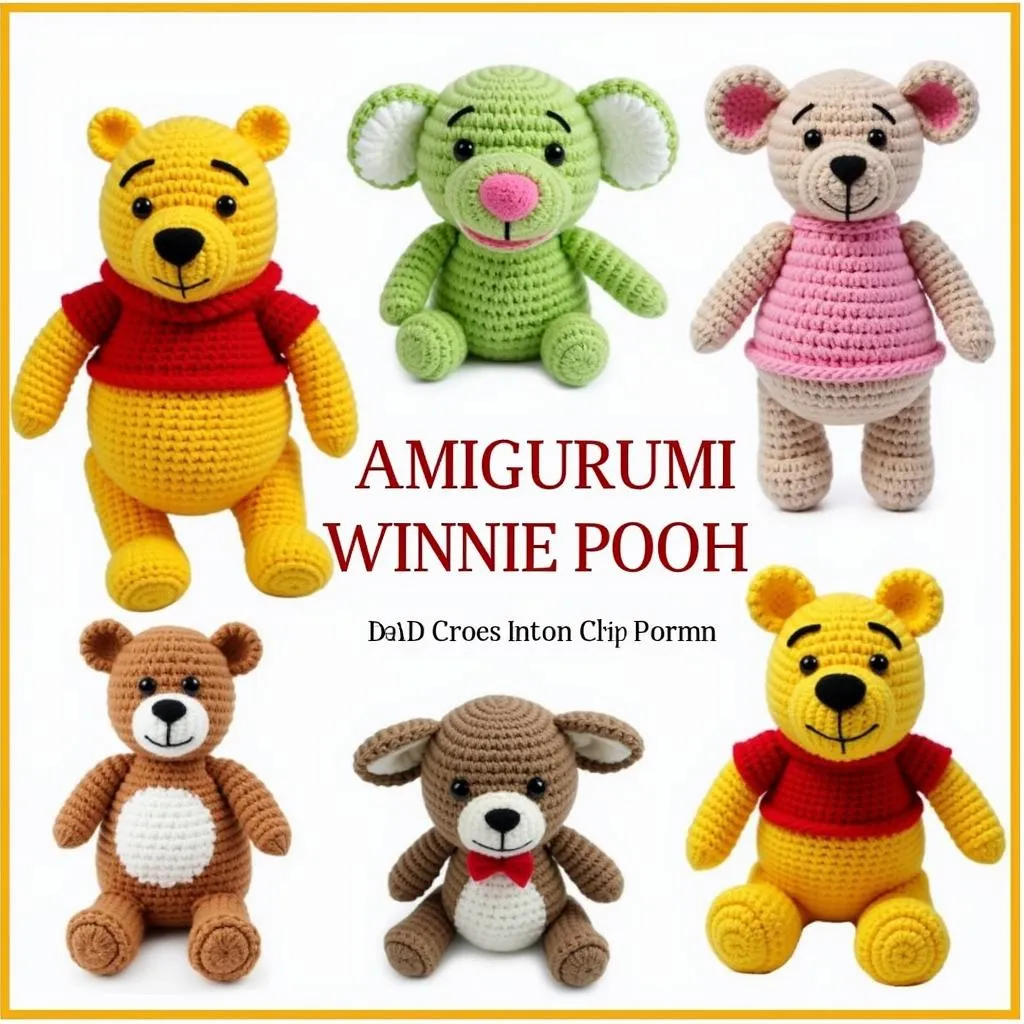 Amigurumi Toys
Start crocheting today!
This free Winnie the Pooh amigurumi crochet pattern is a great way to get started with this fun and rewarding craft. You can create a wonderful toy for yourself or as a gift for someone special. It’s a fun and easy project that will bring a smile to your face!